Where is the Bounce option on my iPhone?
In the Photos app, open a Live Photo and tap Live in the top-left corner. The menu lists Live, Loop, Bounce, Long Exposure and Live Off. If you don’t see Live, the photo wasn’t taken as a Live Photo.
Free · runs in your browser
Two ways that need no extra app: the Bounce effect for Live Photos in the Photos app, and this site in Safari for any video in your camera roll.
On an iPhone, the built-in way to make a boomerang is the Bounce effect for Live Photos: open a Live Photo in the Photos app, tap Live in the top-left corner and choose Bounce, and the photo’s few seconds of motion play forwards and backwards. It works on iOS 27 and recent earlier versions, with no Instagram needed.
Bounce only works on photos taken with Live turned on, and you can’t change its speed or which part bounces. To bounce an ordinary video, a screen recording or a clip someone sent you, open this site in Safari and use the tool at the top of the page; it saves an MP4 straight back to Photos. The same tool works on Android and computers.
These steps follow Apple’s iPhone User Guide for iOS 27. Labels can differ slightly on older versions.
In the Photos app, open a photo that was taken with Live on. Live Photos show a LIVE badge or the Live button at the top left.
Tap Live in the top-left corner and choose Bounce from the menu. Loop repeats the motion in one direction only; Bounce rewinds it backwards and forwards.
Tap the More button (•••) in the top-right corner and choose Save as Video. The new video appears in the Recently Saved album.
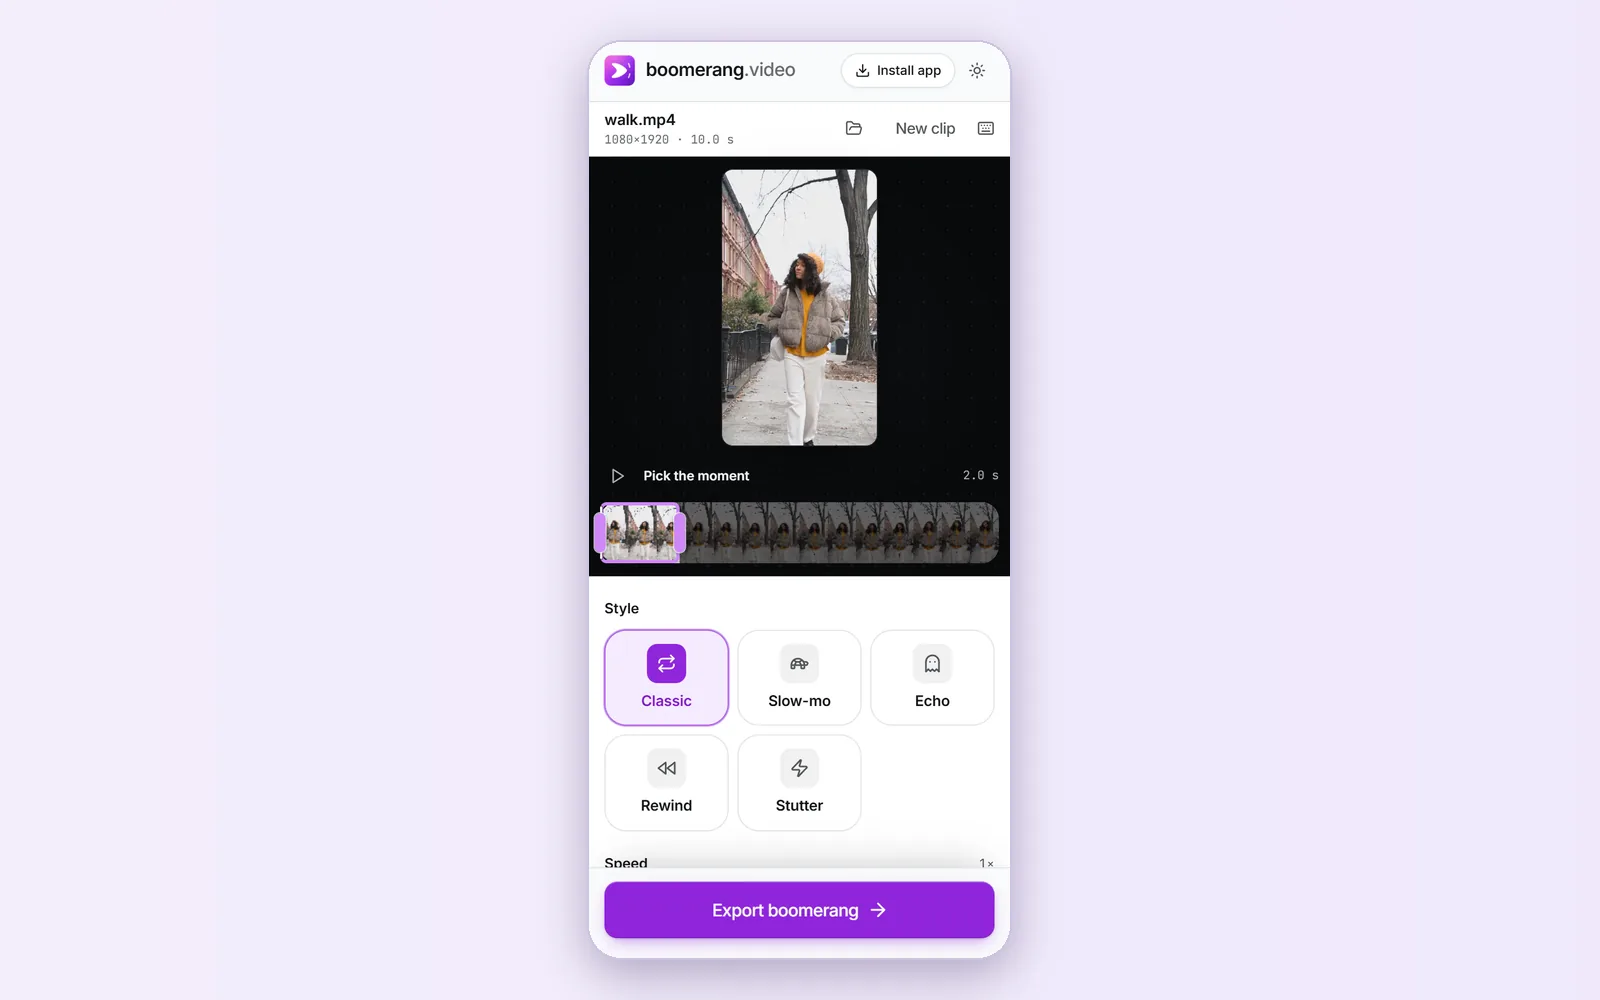
In Safari, open boomerang.video, tap Choose a video and pick a clip, drag the window on the strip to the moment, then tap Export boomerang and Share or save to Photos.
 (enlarge image)
On a phone the preview stays at the top while you scroll the controls.
Bounce is quick and private, and good enough for many Live Photos. Its limits are worth knowing before you rely on it:
Apple doesn’t say whether Save as Video keeps an effect applied. If your saved video plays straight through without bouncing, open it here and make the boomerang from it; the window on the strip lets you pick exactly the part of the motion you want.
iPhones record in HEVC by default. Safari reads it natively. In Chrome or Firefox on a computer, the clip may be converted on your device first, which takes a little longer. Setting Settings → Camera → Formats to Most Compatible records H.264, which every browser opens straight away.
If you’re posting to an Instagram Story anyway, its camera has a Boomerang mode for new moments. It captures about a second and can’t bounce a video already in your camera roll. The Instagram guide has the steps.
In the Photos app, open a Live Photo and tap Live in the top-left corner. The menu lists Live, Loop, Bounce, Long Exposure and Live Off. If you don’t see Live, the photo wasn’t taken as a Live Photo.
Not with the Photos app; Bounce is only for Live Photos. Open the video on this site in Safari instead, pick the moment and export.
In the Camera app, tap the Live Photos button so it’s on before you take the picture. A Live Photo records a little motion and sound around the moment you press the shutter.
With Bounce, use More → Save as Video to get a video in Recently Saved. With this site, tap Share or save to Photos after exporting, then Save Video.
Yes. Set Format to GIF under Export settings before exporting. Safari can’t write WebP, so the WebP option saves an animated PNG on iPhone.
No. Both the Bounce effect and this site work without Instagram or any other download.